
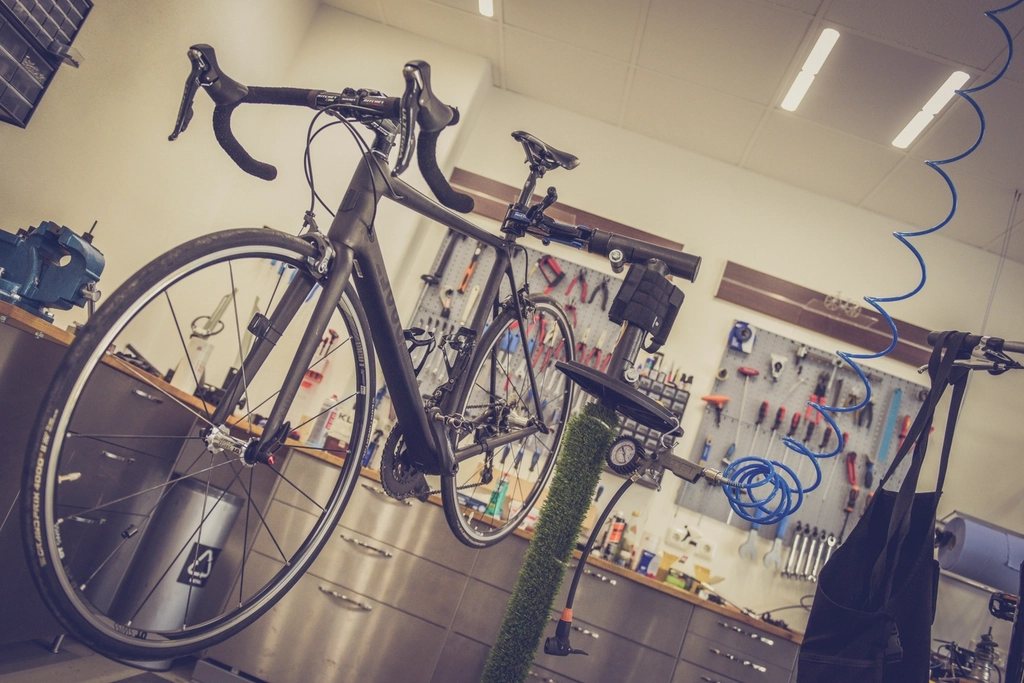
Most mechanical trouble on a city bike announces itself days before it strands you. The chain starts to sound dry, the brake lever pulls a little closer to the bar, the rear tire feels squishy on the corners, and one morning a rack bolt is gone. A short weekly check catches all of it in about fifteen minutes with the bike leaning against the garage wall. Ours happens on Sunday evening with the lights on the charger next to us. Here is the routine we teach at club maintenance nights, tuned for the dust, heat and goatheads of a dry-side summer.
Start with ABC: air, brakes, chain
The ABC check is the two-minute version that every rider should do before any ride longer than a trip to the corner. A is for air: squeeze both tires and put a gauge on them, because a tire that feels fine by hand can be 20 psi low. B is for brakes: squeeze each lever and make sure it stops well before the bar, then roll forward and pull the front brake to see that the wheel locks. C is for chain: spin the pedals backward and look and listen. It should move quietly and smoothly, with no stiff link that hops as it passes over the derailleur pulleys. Then lift the bike a few centimeters and drop it on its wheels. Anything that rattles is loose, and you now have a list. The weekly version below goes deeper and adds the bolts and the pads.
Chain lube in dust and heat
The chain is the part that dies first in a dry climate, and it dies from dust rather than rust. A wet lube, the thick kind meant for rain, attracts grit and turns into a grinding paste that wears the chain and the cassette together. In our summers we use a dry lube or a wax-based lube, applied one drop per roller while pedaling backward, then wiped off hard with a rag after a few minutes. The chain should look almost dry on the outside with the lube living inside the rollers. Do this every 100 to 150 miles, or every week if the bike lives outdoors. Before lubing, wipe the chain to pull off the black film; a proper degrease is only needed every couple of months. Check chain wear with a cheap wear gauge. When it reads 0.5 percent worn on an 11 or 12 speed drivetrain, or 0.75 percent on 8 to 10 speed, replace the chain. A chain that costs 20 to 40 USD swapped in time saves a cassette that costs 60 to 150 USD.
Tire pressure by width
Tire pressure is where most riders are wrong and most comfort is lost. The number printed on the sidewall is a maximum, not a target. The right pressure depends on the width of the tire and the weight on it, and a wider tire wants less. As a starting point for a rider around 75 kg with a bit of luggage, we use these ranges, with the rear 5 psi higher than the front:
- 25 mm road tire: 85 to 95 psi.
- 28 to 32 mm commuter tire: 65 to 80 psi.
- 35 to 40 mm gravel or touring tire: 45 to 60 psi.
- 45 to 55 mm e-bike or comfort tire: 30 to 45 psi.
- 2.2 to 2.4 inch mountain tire on pavement: 25 to 35 psi.
Add 5 psi if you are heavier or carry panniers, and subtract 5 for a light rider on a rough path. Tubes lose 5 to 10 psi a week through the rubber, faster in heat, so the weekly top-up with a floor pump is not optional. While the wheel is off the ground, spin it and look at the tread for embedded thorns and cuts, and watch the rim for a wobble that means a spoke is loose.
Brake pads and cables
Rim brake pads have wear lines or grooves molded into the rubber. When the grooves are gone, the pad is done, and pads cost 10 to 20 USD a pair. Pick out any metal shards embedded in the pad surface, since they score the rim. Disc brake pads start with about 3 to 4 mm of material and should be replaced at 1 mm, which you can check with a flashlight from above the caliper. If you hear metal on metal when braking, you are already past the limit and cutting the rotor. Squeeze each lever and watch the cable or hose. A cable brake that pulls too far can be tightened with the barrel adjuster on the lever; a hydraulic brake that pulls to the bar needs a bleed, which is a shop job for most of us. Wipe disc rotors with rubbing alcohol every week in summer, since dust and a drop of chain lube on the rotor cause the howling that everybody hears on the trail.
Bolts and torque
Bikes vibrate, and vibration loosens bolts. Once a week we go around the bike with a set of hex keys and a small torque wrench, checking in this order: stem bolts, handlebar clamp, seatpost clamp, saddle rails, rack and fender mounts, bottle cage bolts, crank bolts and the through-axles or quick releases. Most small bolts on a bike are marked with a torque value in newton-meters, written Nm. Stem and bar clamp bolts are usually 5 to 6 Nm, seatpost clamps 4 to 6 Nm, rack bolts 3 to 5 Nm, and crank bolts 35 to 50 Nm. Carbon parts are unforgiving of overtightening and aluminum threads strip easily, so a torque wrench covering 2 to 20 Nm is worth its 30 to 60 USD the first time it saves a stem. A drop of blue thread locker on rack and fender bolts stops them vibrating loose. Finally, grab the front wheel between your knees and try to turn the bars; if the bars move and the wheel does not, the stem is loose.
When to hand it to a mechanic
The weekly check is about catching problems, not necessarily fixing them, and knowing the line is part of the skill. A creak from the bottom bracket, a wheel that stays out of true after you tighten one spoke, a headset that knocks when you brake, a hydraulic brake that needs bleeding, and a chain that skips under load on a new cassette are all shop jobs for most riders. A basic tune-up runs 60 to 120 USD and a full overhaul 150 to 300 USD, and a bike that gets the weekly check needs the big one far less often. Book the shop visit in early spring before the rush, and again in the fall before the days get short. In between, fifteen minutes a week is the whole secret to a bike that never surprises you.